
Folded Paper Gift Boxes for Valentine’s Day
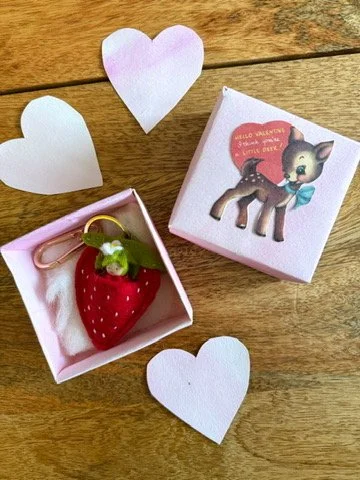
Make a little gift box to hold Valentine’s Day treasures! You can use any type of sturdy paper to make these, such as watercolor paper or cardstock. I used watercolor paper that was painted with shades of pink and purple.
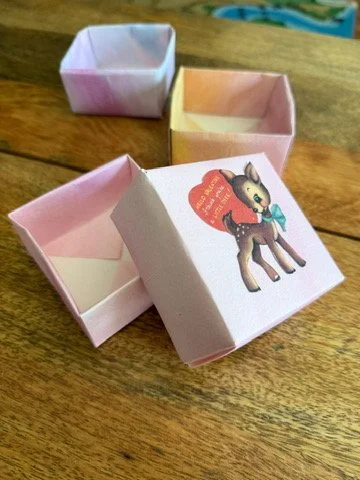
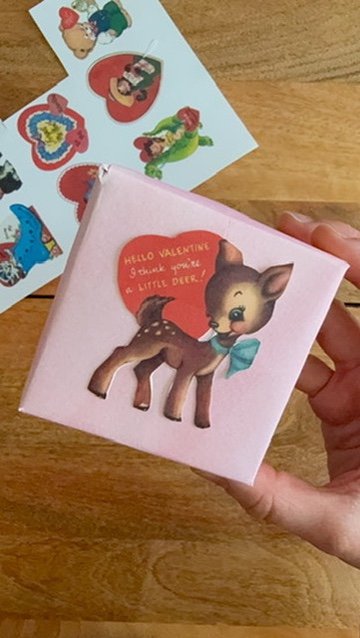
To make this gift box look extra special and festive for Valentine’s Day, I glued a little vintage Valentine to the top of the box. I made a free printable with vintage Valentine’s Day cards! Scroll down to the bottom for the download.
The folding needs to be pretty precise for these boxes, so if you’re doing this craft with younger children, I recommend letting them get involved by decorating the boxes and leaving the folding to older children or adults. I made these over the holidays with my five-year-old, and she had fun decorating the paper before folding it, and then put stickers on the box after I folded it.
I learned this method of folding gift boxes from Earthways by Carol Petrash, a Waldorf-inspired seasonal activity book.
How to fold a paper box:
Supplies:
Two pieces of sturdy paper. I used 9x12 watercolor paper. You can watercolor or draw on your paper before folding the box.
Scissors
Glue (optional)
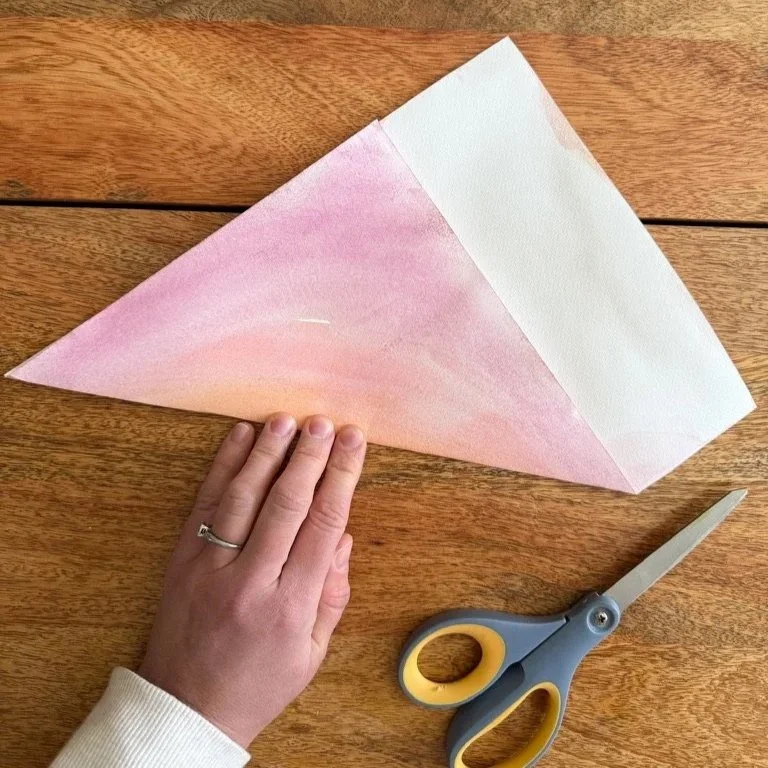
Step 1:
Fold one short edge of the paper to meet the long edge of the paper.
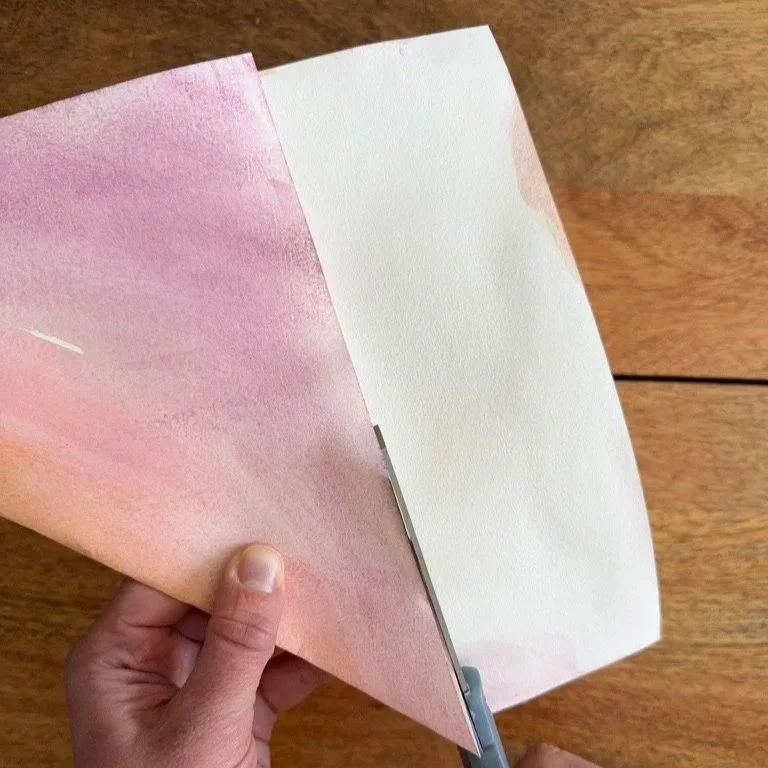
Step 2:
Cut along the edge of the paper to create a perfect square.
Note: When making a gift box, the lid needs to be slightly larger than the base. To achieve this, trim 1/8 inch off two sides of the paper square that will be used for the base of the gift box.
If you start with 9x12 watercolor paper as I did, then the paper squares should be:
Lid: 9 × 9 inches
Base: 8-7/8 × 8-7/8 inches
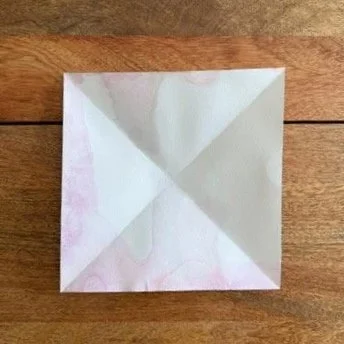
Step 3:
Fold the opposite corners together so the creases intersect in the center of the square.
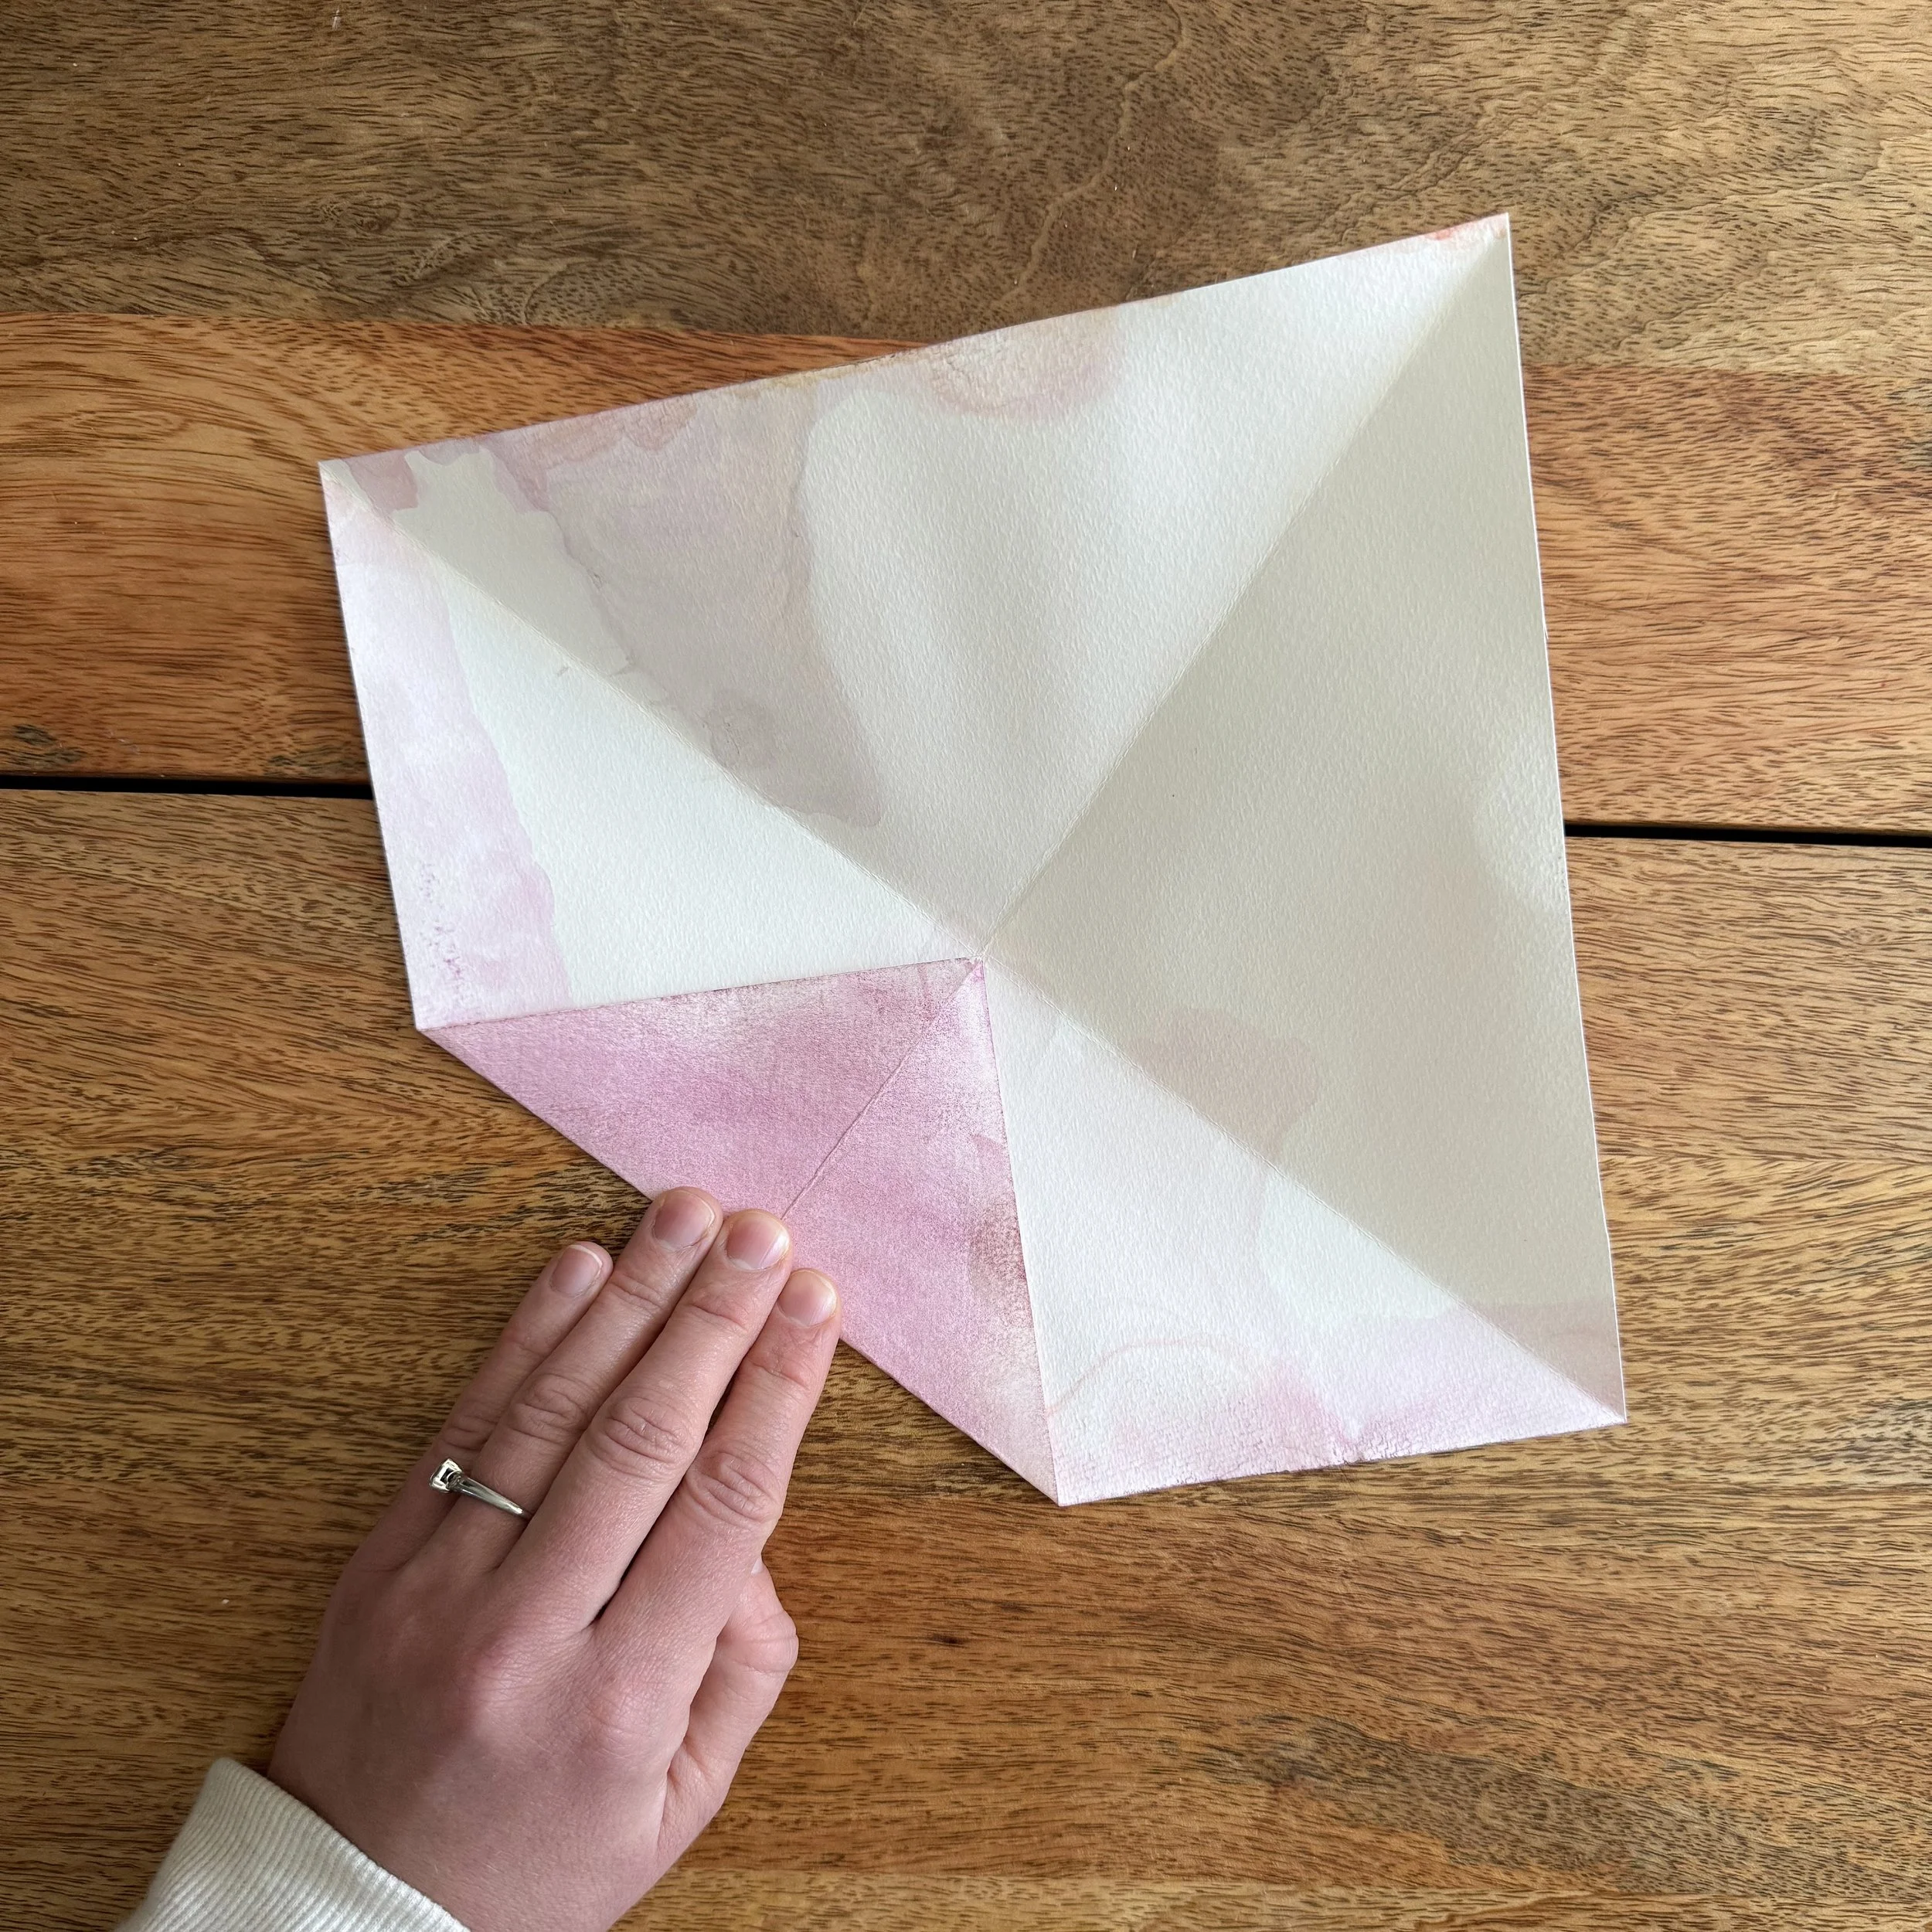
Step 4:
Fold each of the four corners to the center point

Now the creases should look like this, with a square in the center that is made up of four smaller squares.
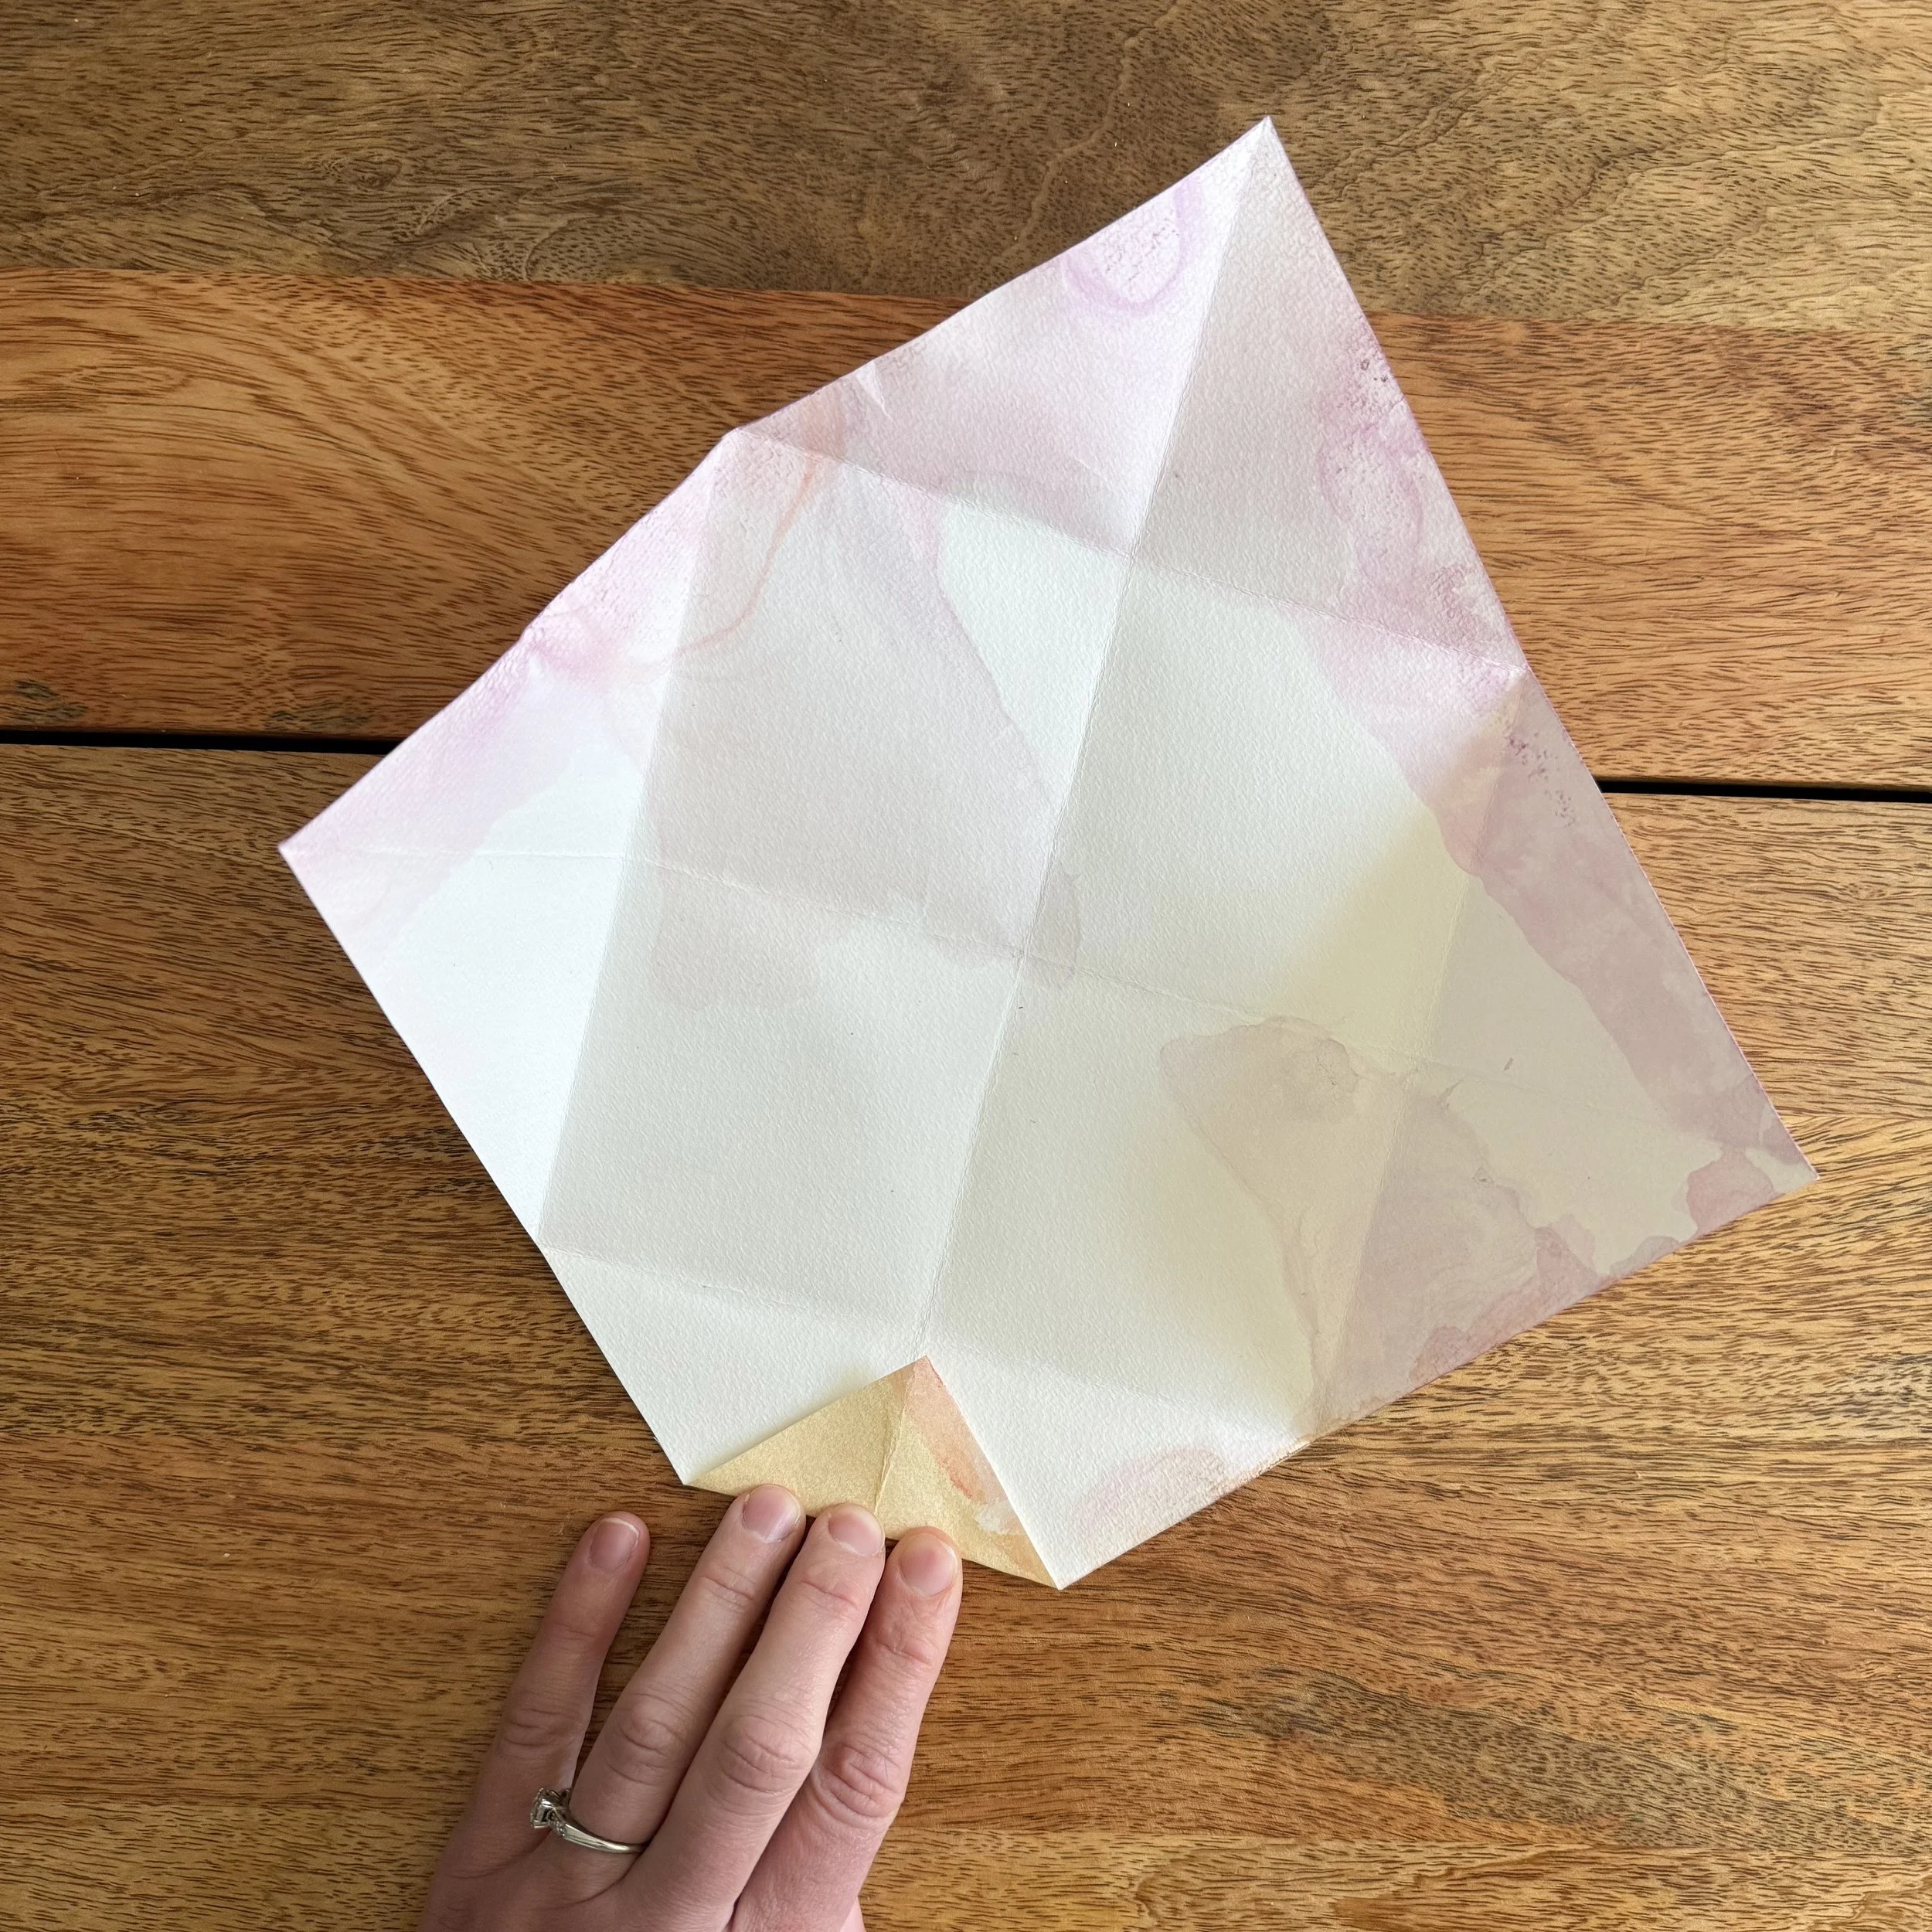
Step 5:
Fold each of the four corners to the first crease.
Step 6:
Fold each of the four corners to the first crease on the opposite side.
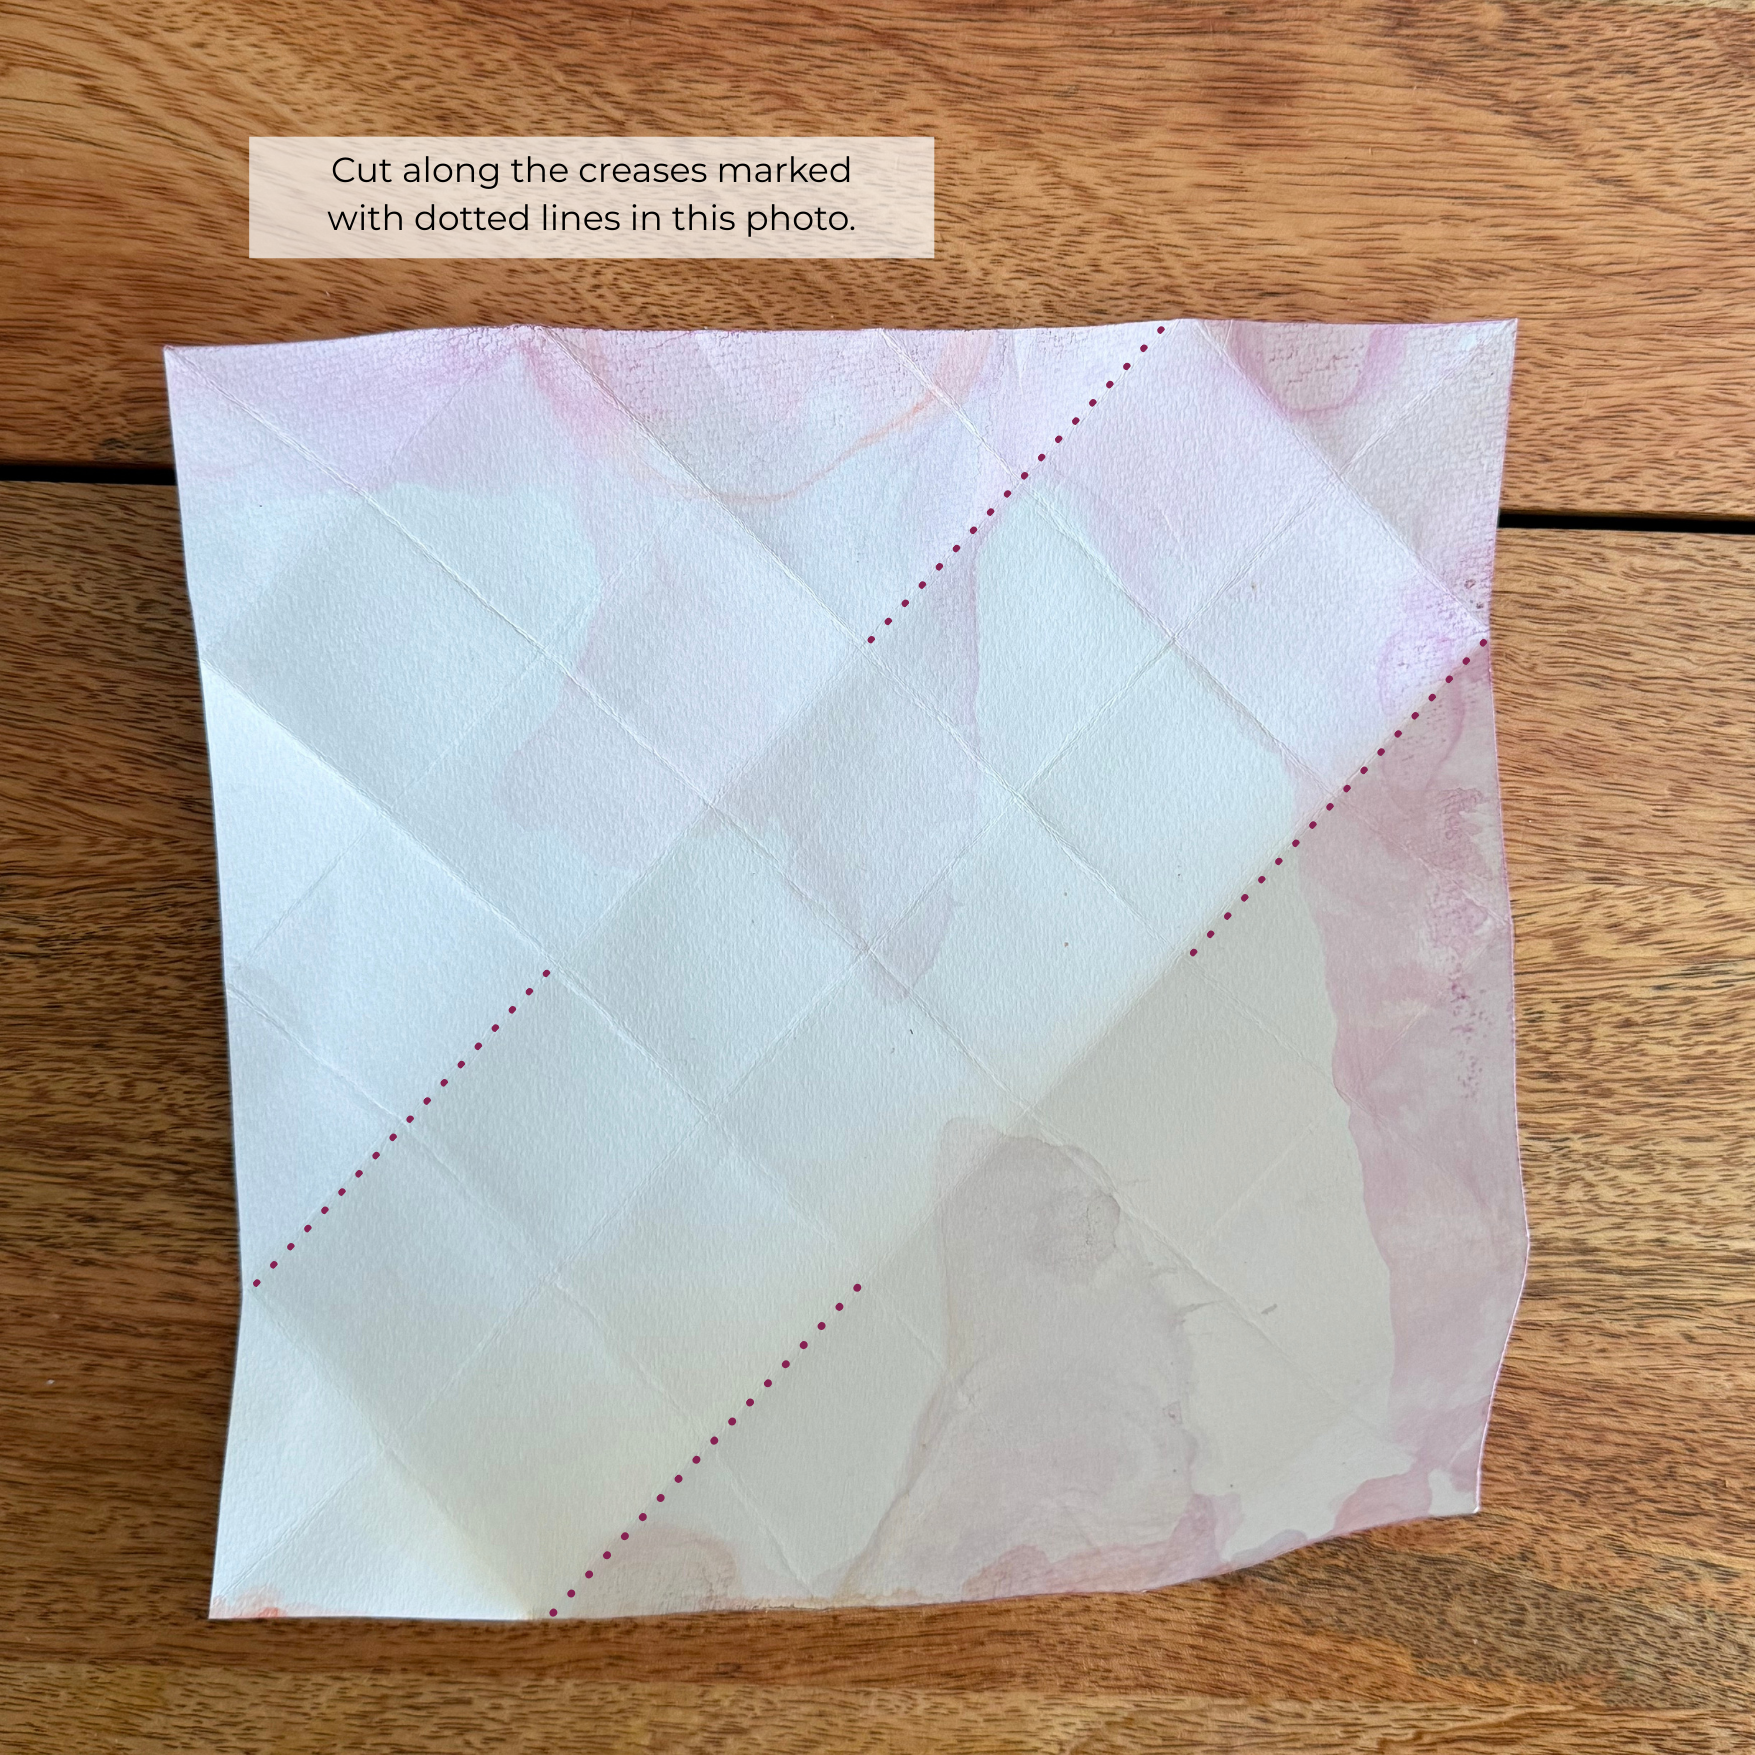
Step 7:
Make four cuts along opposite creases, but leave the large center square uncut. See photo for details on where to cut.
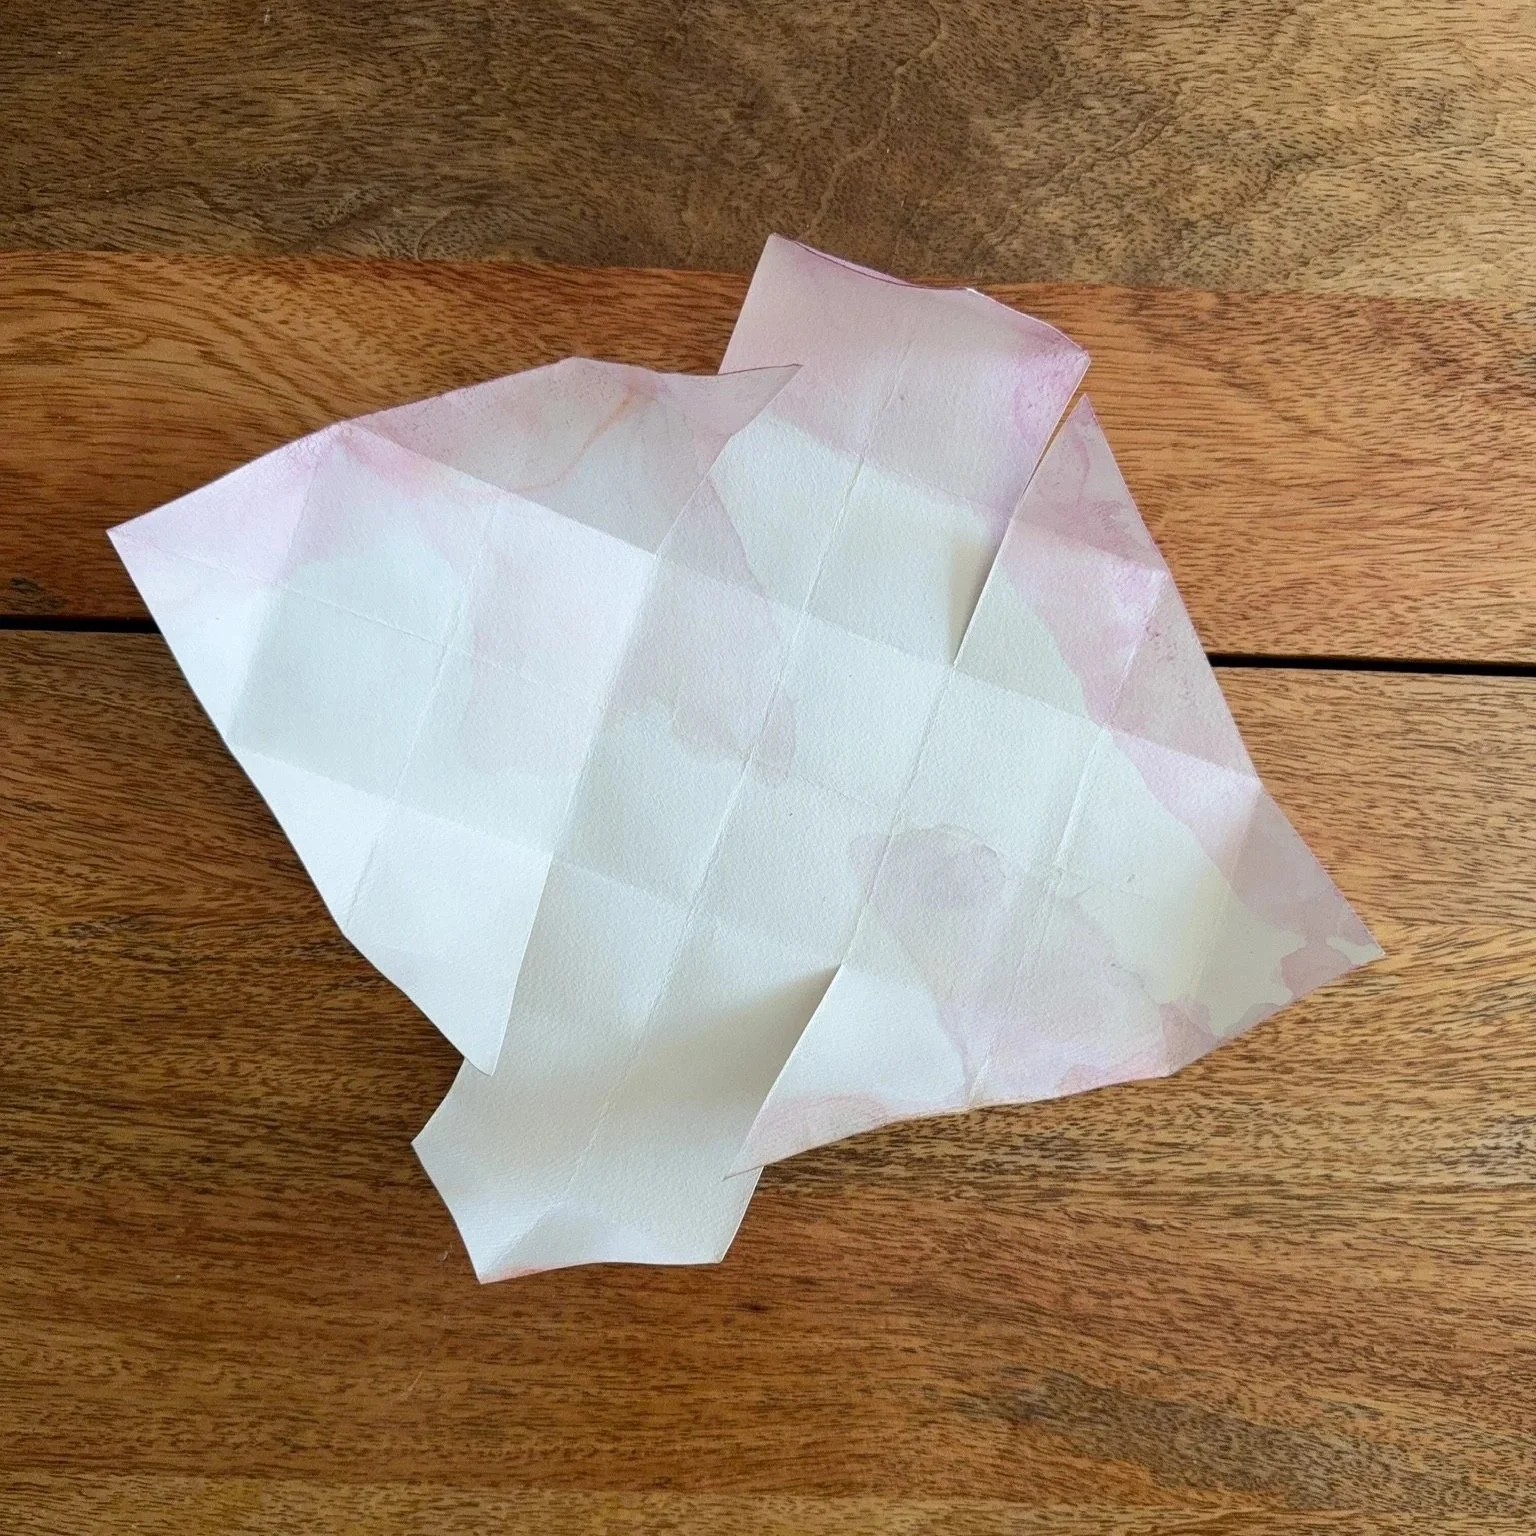
Now your paper should look like this.
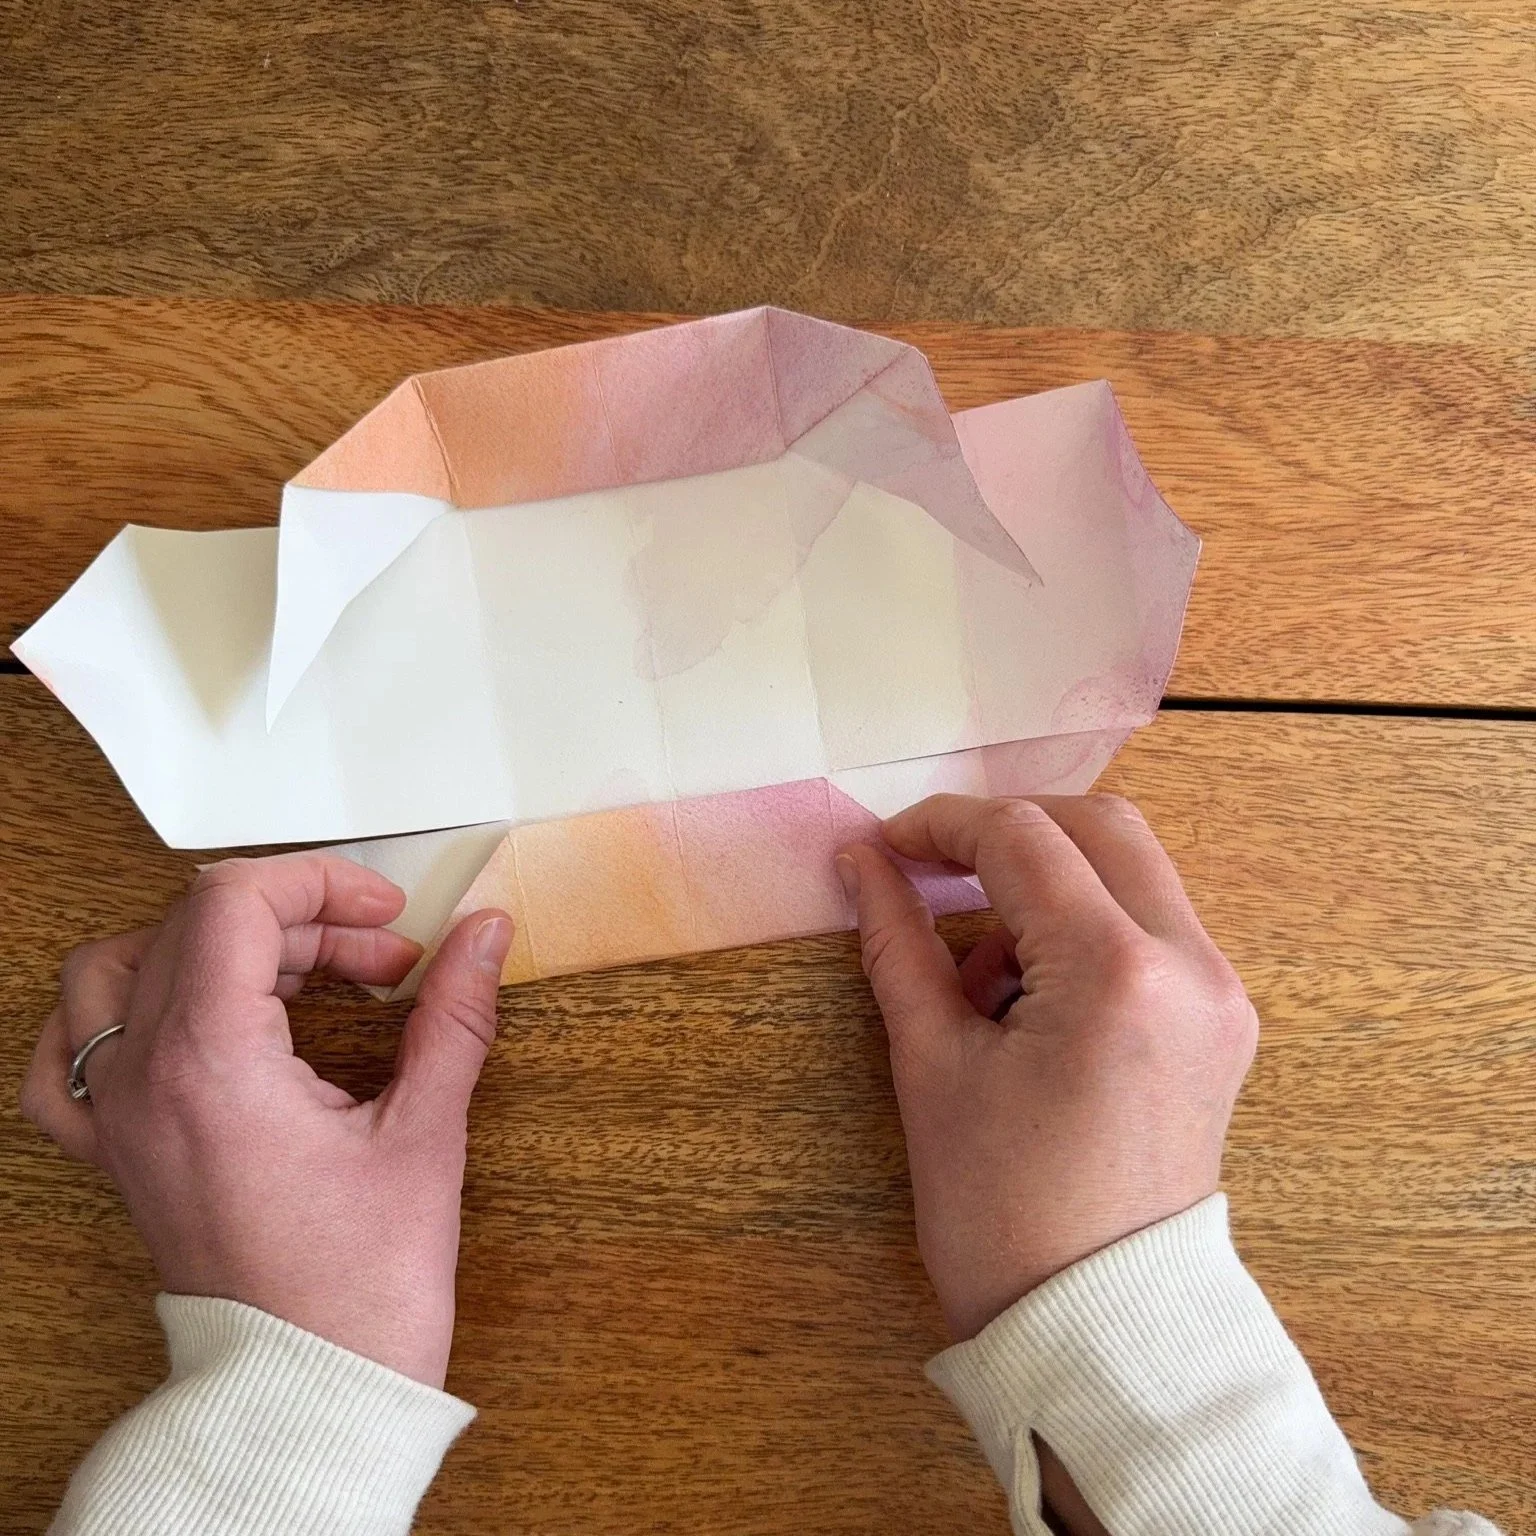
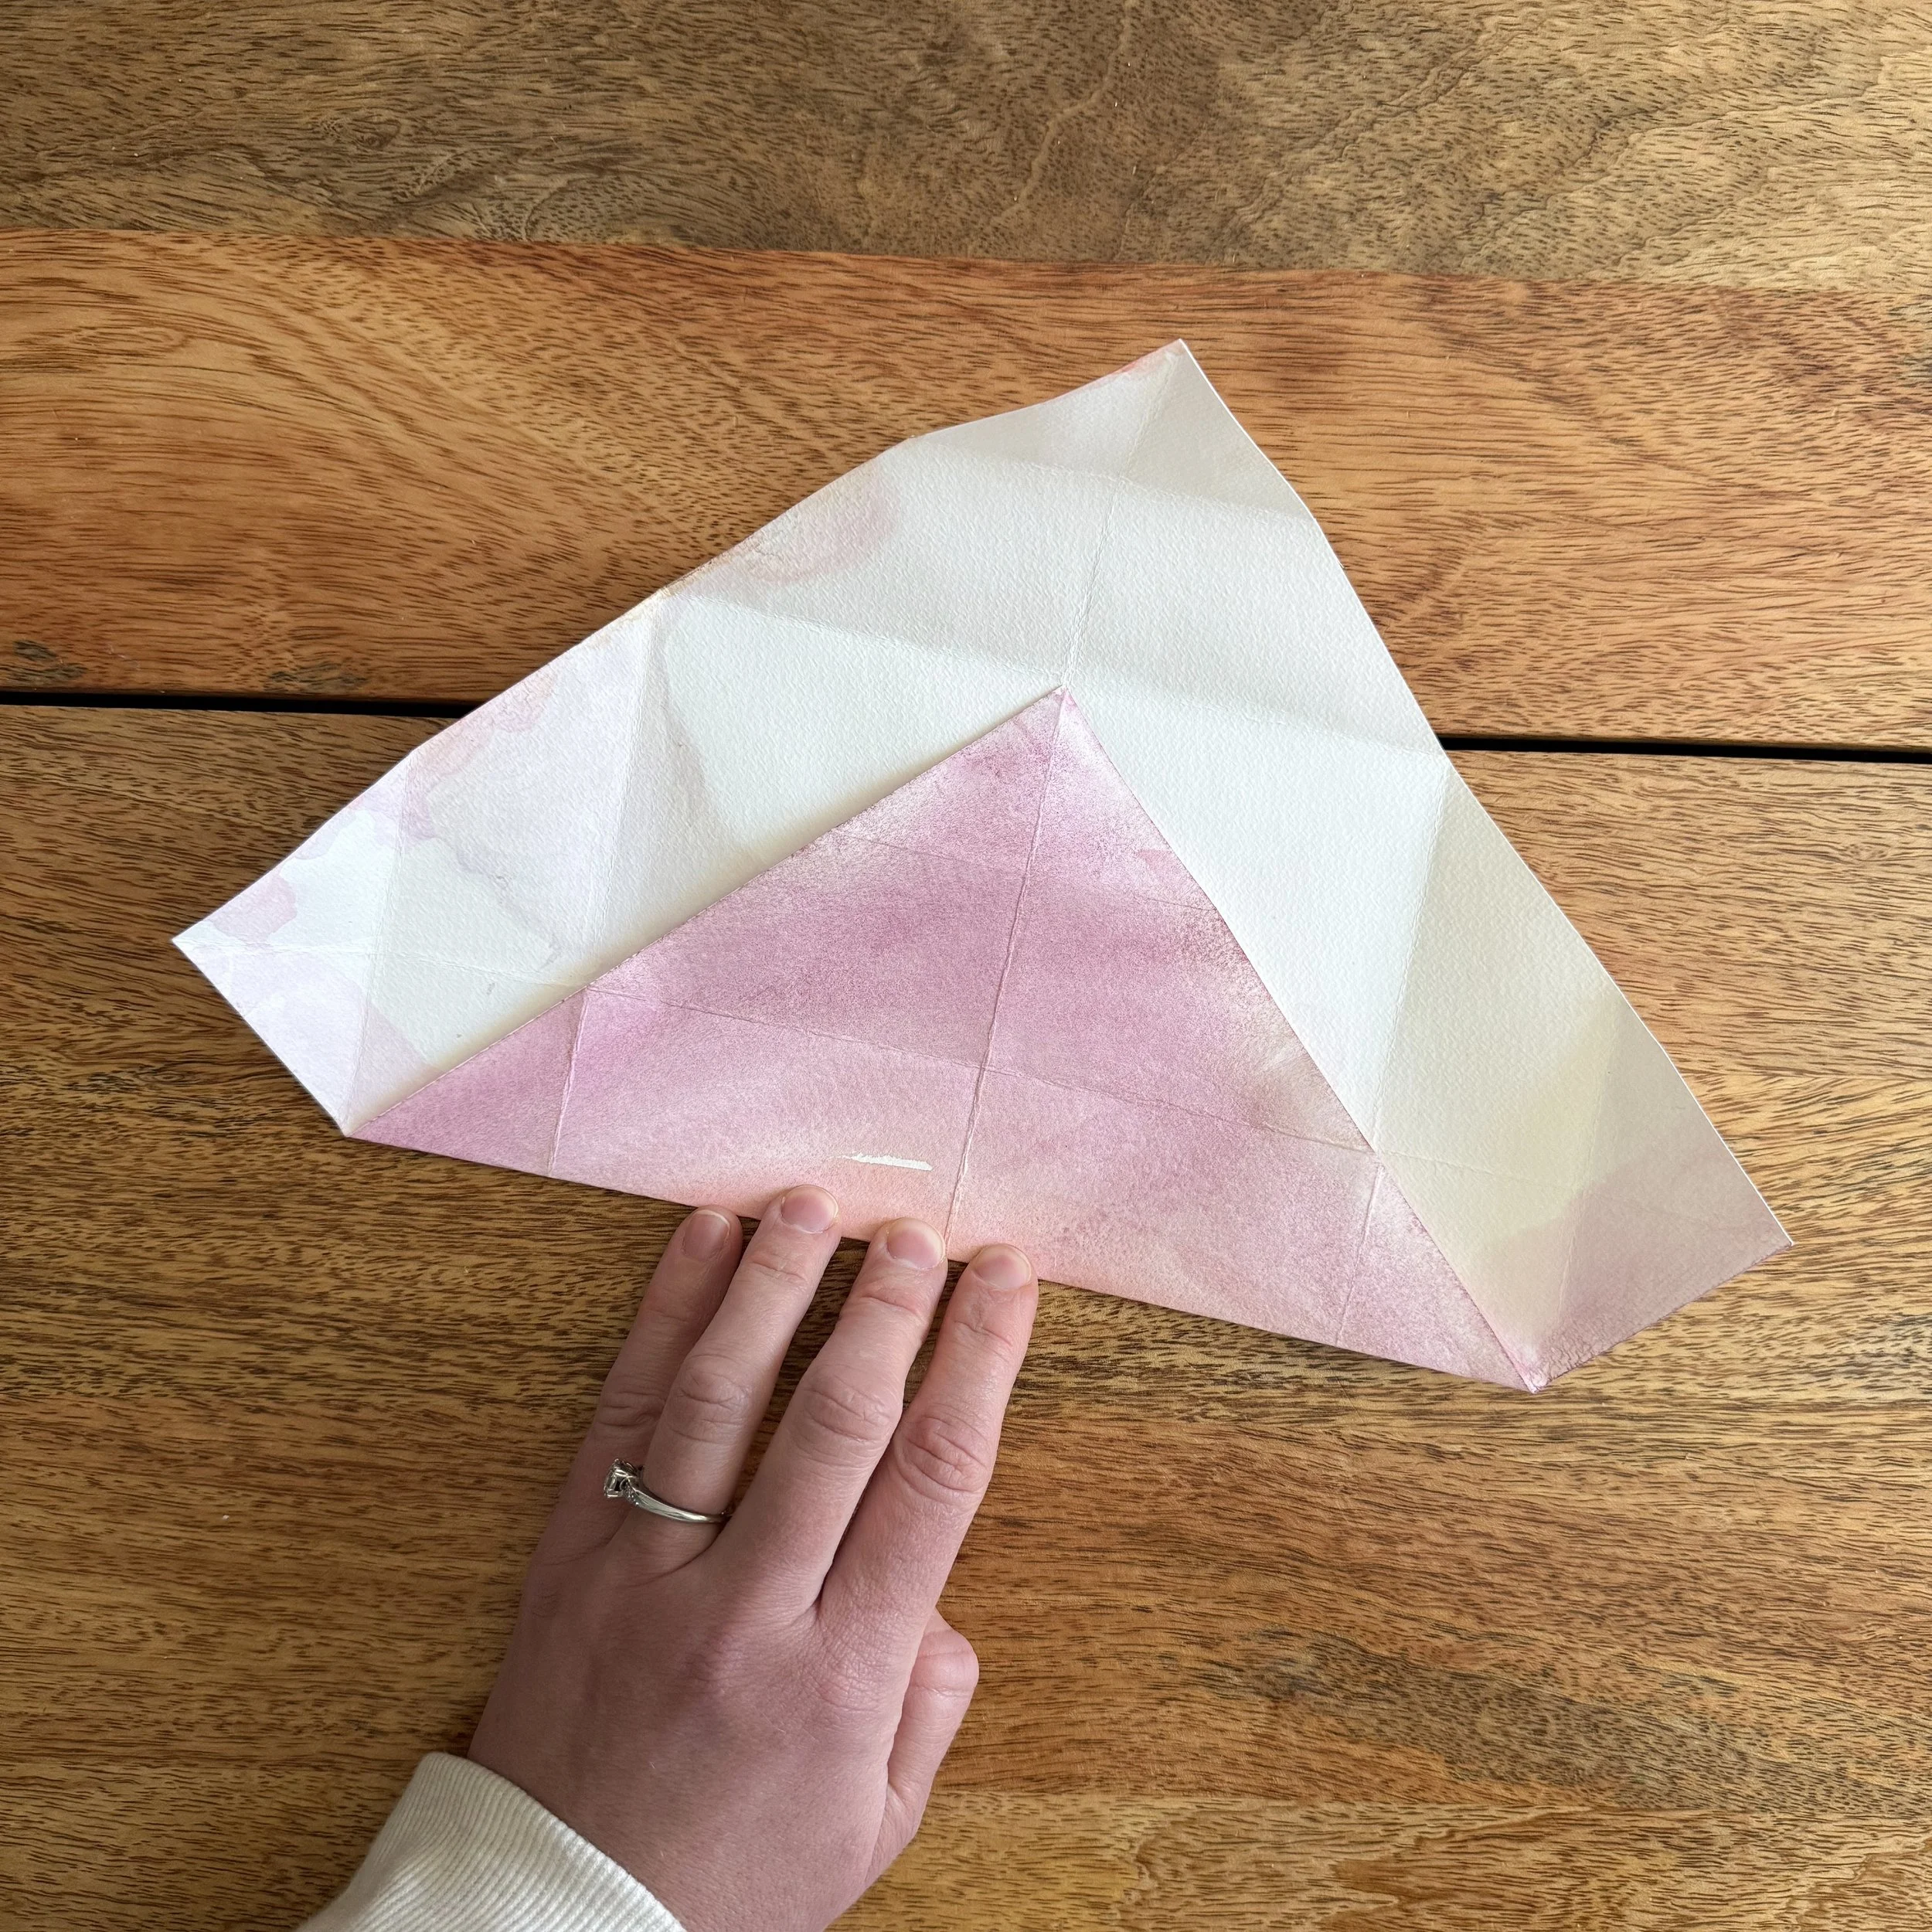
Step 8:
Fold in the sides that you didn’t cut. These will be two sides of the box.
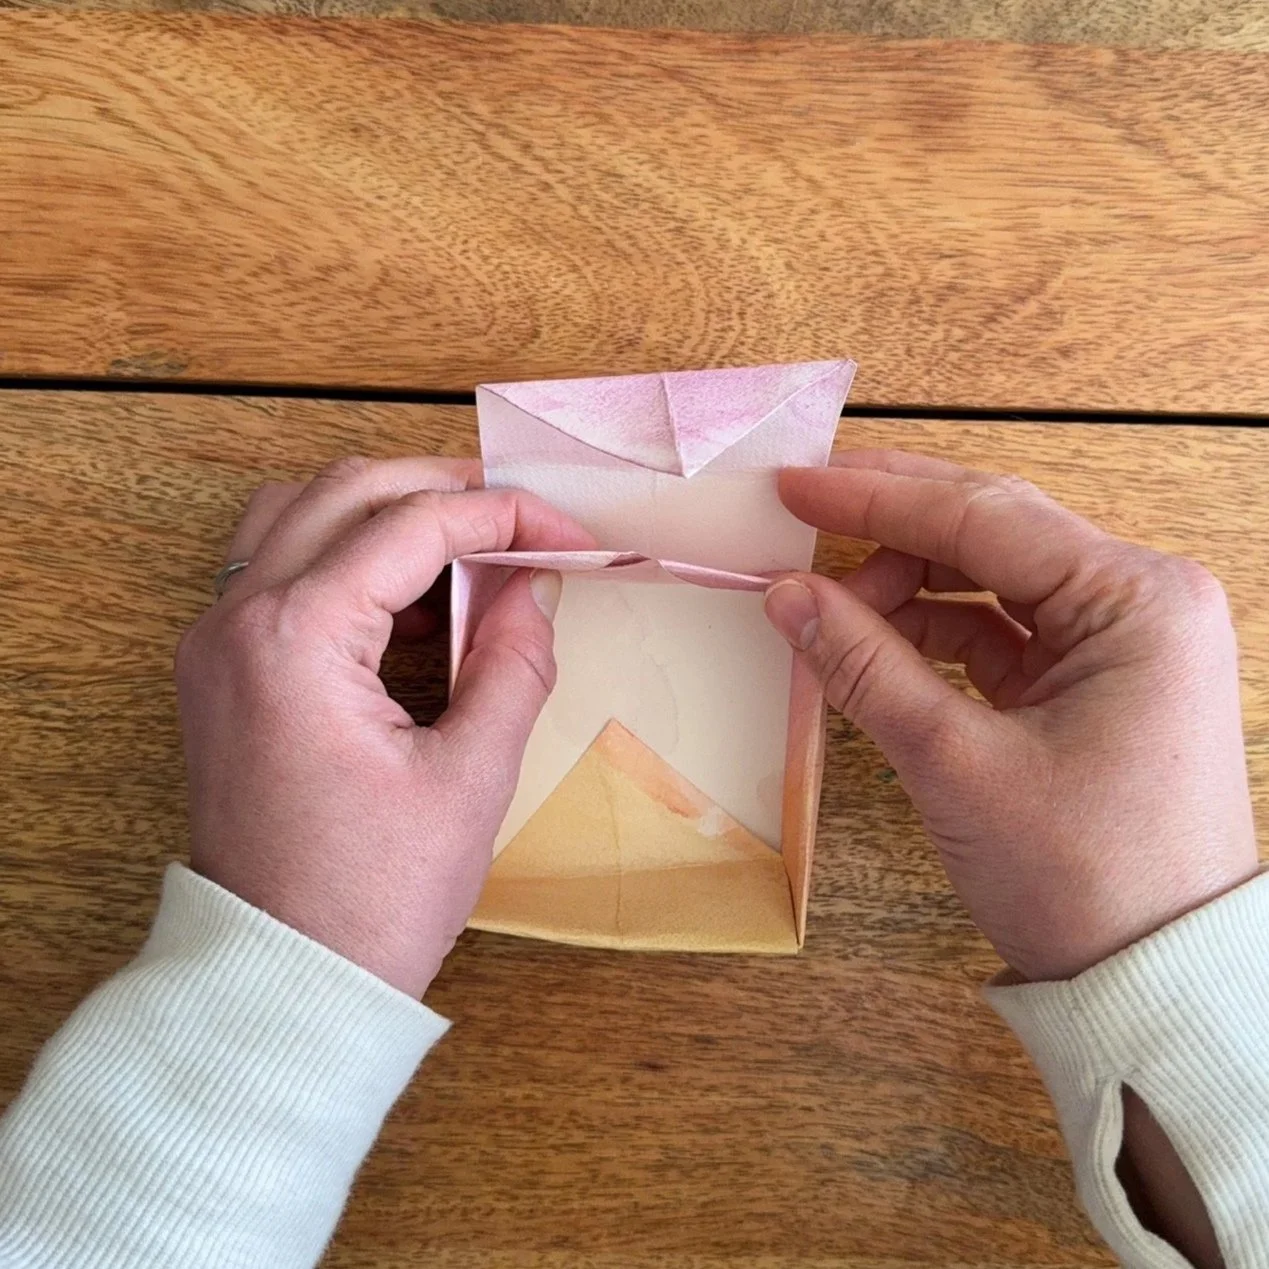
Step 9:
Fold the other two corners inward. These are the other two sides of the box.
Optionally, you can add a little glue to these corners before pressing them to the bottom of the box to help hold it together.
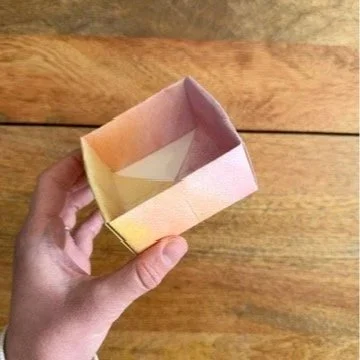
Now you have half of the gift box made!
Repeat these steps with your second sheet of paper (remember, one piece of paper needs to be slightly smaller to create the base of the box, and the lid needs to be slightly larger).
Add Valentine’s Day art to the top of the gift box:


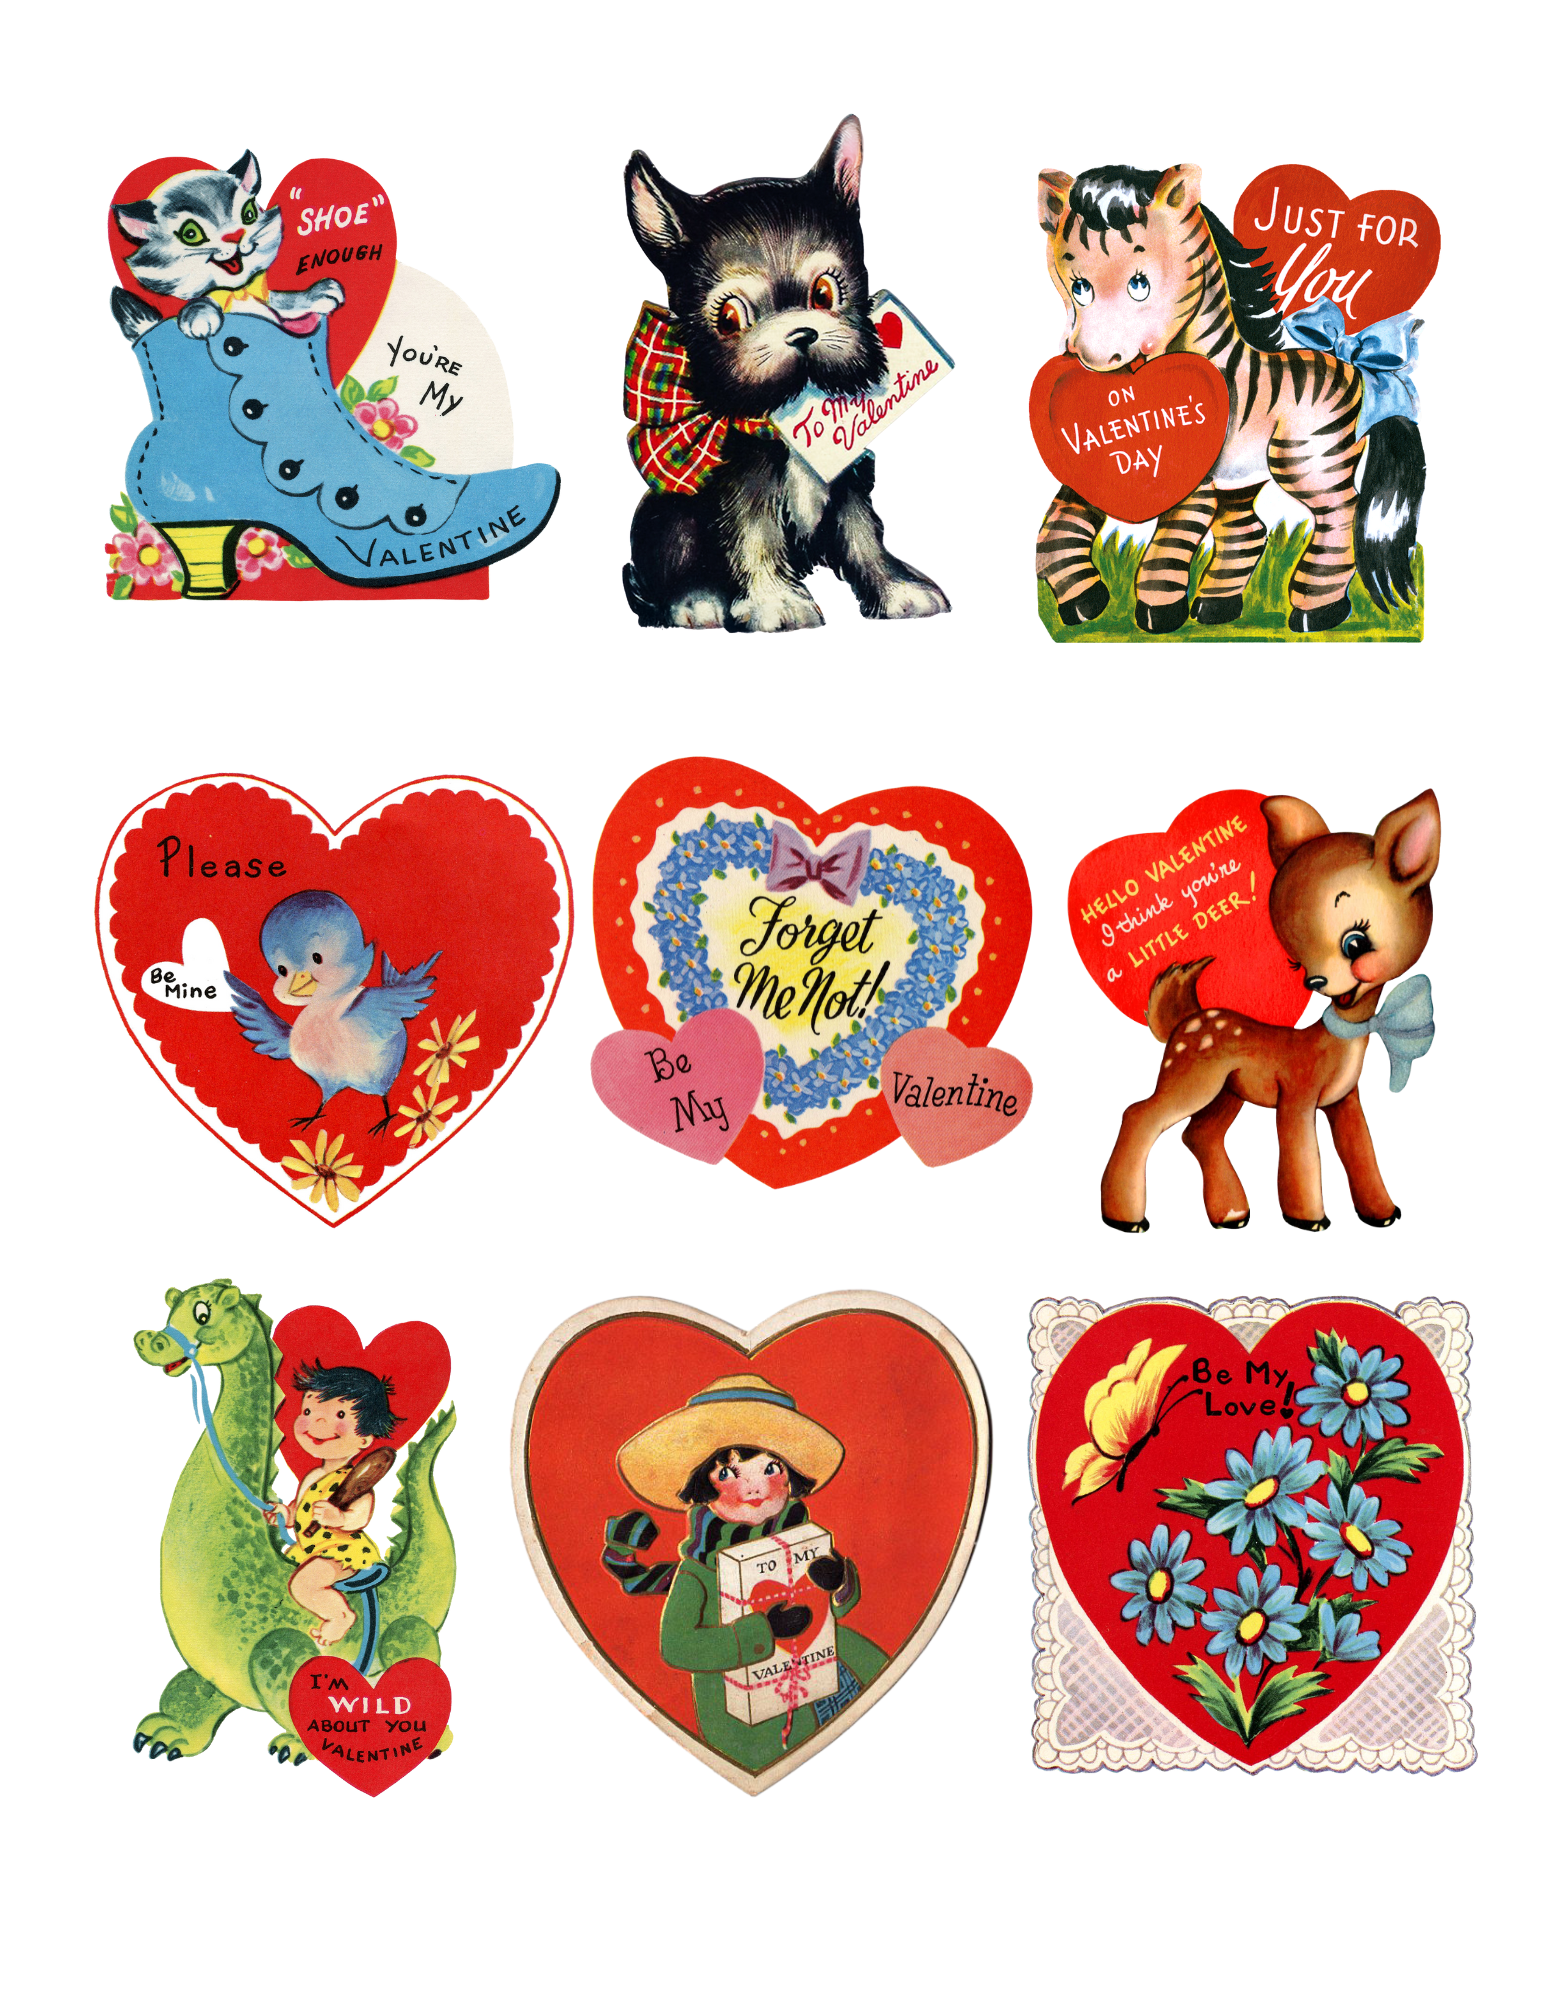
Free Download
Mini vintage Valentine art adds a little extra charm to these boxes!
Download the PDF to print and cut by hand.
Download the PNG file to upload to your cutting machine (Cricut, Silhouette, etc).